You can use Visual Studio Code for developing TypeScript applications.
First you need to download and install the following:
- Visual Studio Code Download and install from the following link Visual Studio Code
- NodeJS Download and install from the following link Node.For windows 8 download 64 bit version.
- TypeScript Download and install from the following link. TypeScript
1.Check the installed version of NPM
Once you install Node.js ,NPM will be automatically installed.NPM is Node Pacakge Manager.
It is used when developing TypeScript applications.
Verify if the NPM is installed and check the installed version of NPM.
npm -v.
Install the latest version of NPM by executing the following command:
npm install npm@latest -g
2.Install TypeScript
To install the TypeScript you just need to execute the following npm command:
npm install -g typescript
3.Install Visual Studio Code.
You can download Visual Studio Code from the following
4.Create root directory for typescript
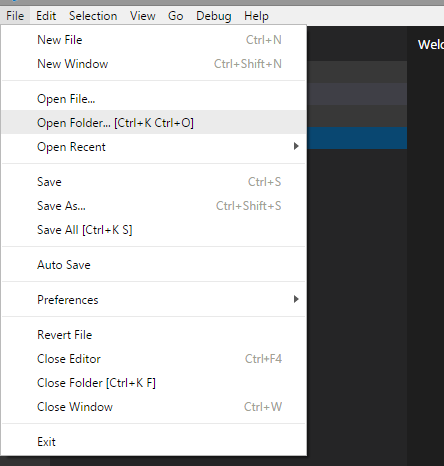
Once you install Visual studio code you can create a root directory in which you want to add the files of your application.
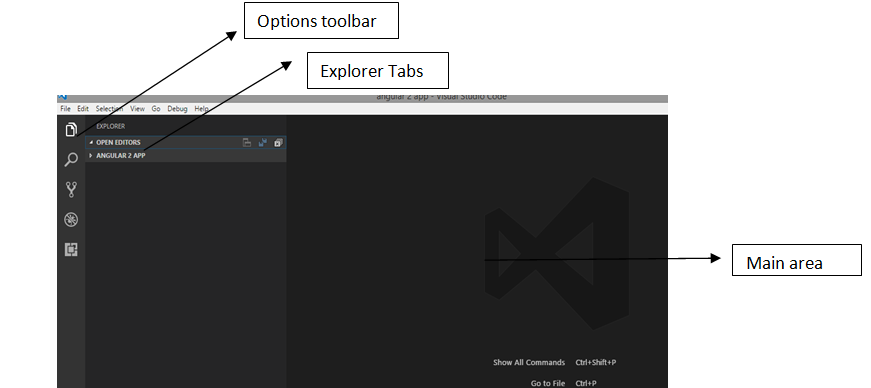
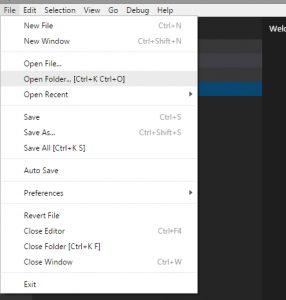
Now you can open the root directory in Visual Studio Code.
There are few important config files you need when working with TypeScript application in Visual Studio Code:
- launch.json Used for configuring debugging
- tsconfig.josn This is required in the root directory of the application.
- tasks.json This is used to define task configuration.


