Here we will understand how to create ASP.NET Core MVC application.You can create a new MVC application in Visual Studio 2017 using the following steps:
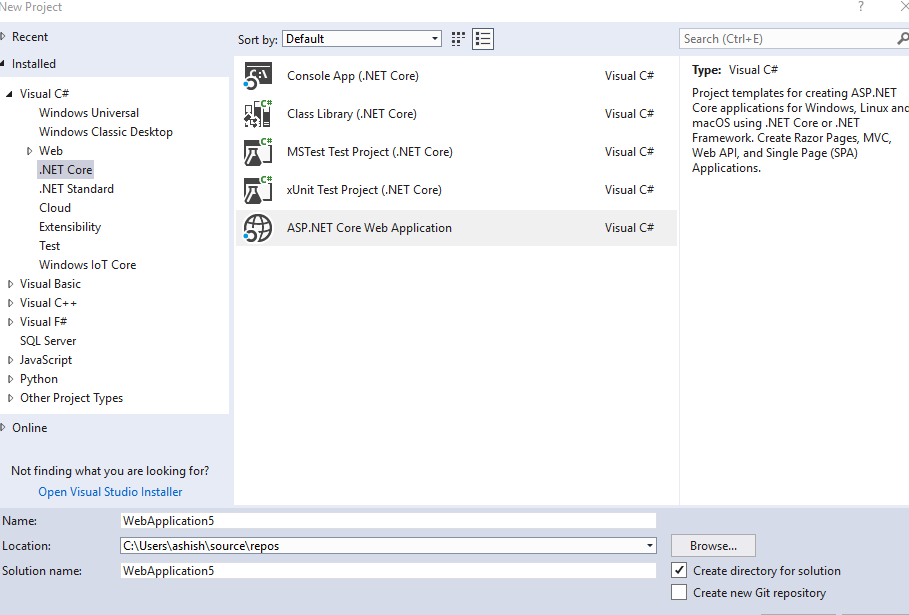
1.Select file–>new project
Select .NET core at left hand and ASP.NET core web application on the right side templates
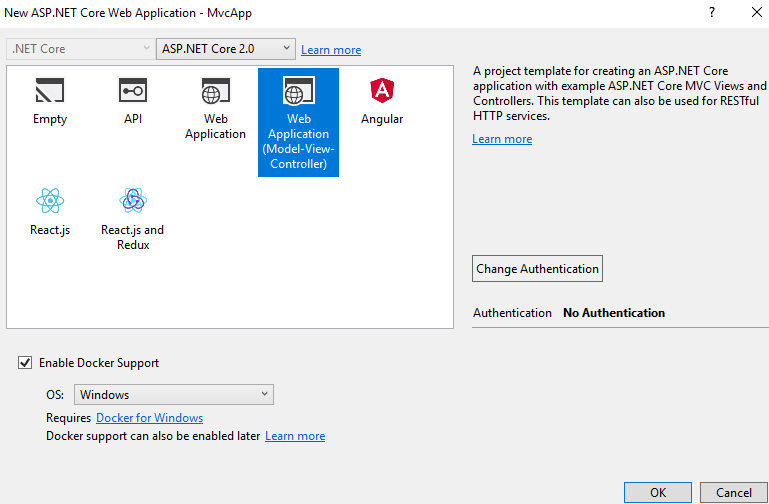
2. In the dialog that opens select MVC application template.You can select the docker support if required.
2.After you click “ok” in the above window Visual Studio will create a new MVC Project.
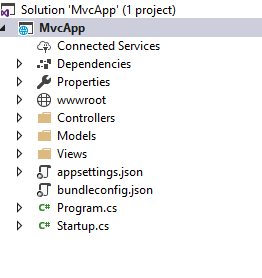
After ASP.NET Core project is created following files and folders are created by default.
There are two main files Program.cs and Startup.cs
Program.cs
ASP.NET Core application despite being a web application starts as a console application.So there is a Main method in a Program class which is the entry point of ASP.NET Core application.This method uses an instance of IWebHost to run the application.
public class Program
{
public static void Main(string[] args)
{
BuildWebHost(args).Run();
}

public static IWebHost BuildWebHost(string[] args) =>
WebHost.CreateDefaultBuilder(args)
.UseStartup<Startup>()
.Build();
}
If you hover above the CreateDefaultBuilder method you can see the following details about it:
Startup.cs
This file defines the Startup class which declares the Configure method.This method defines the routes for the application
app.UseMvc(routes =>
{
routes.MapRoute(
name: "default",
template: "{controller=Home}/{action=Index}/{id?}");
});
in the above route the default controller name is Home and default action method is Index.This means that if you don’t provide any values for controller and action method then it will be handled by the Index action method of Home controller
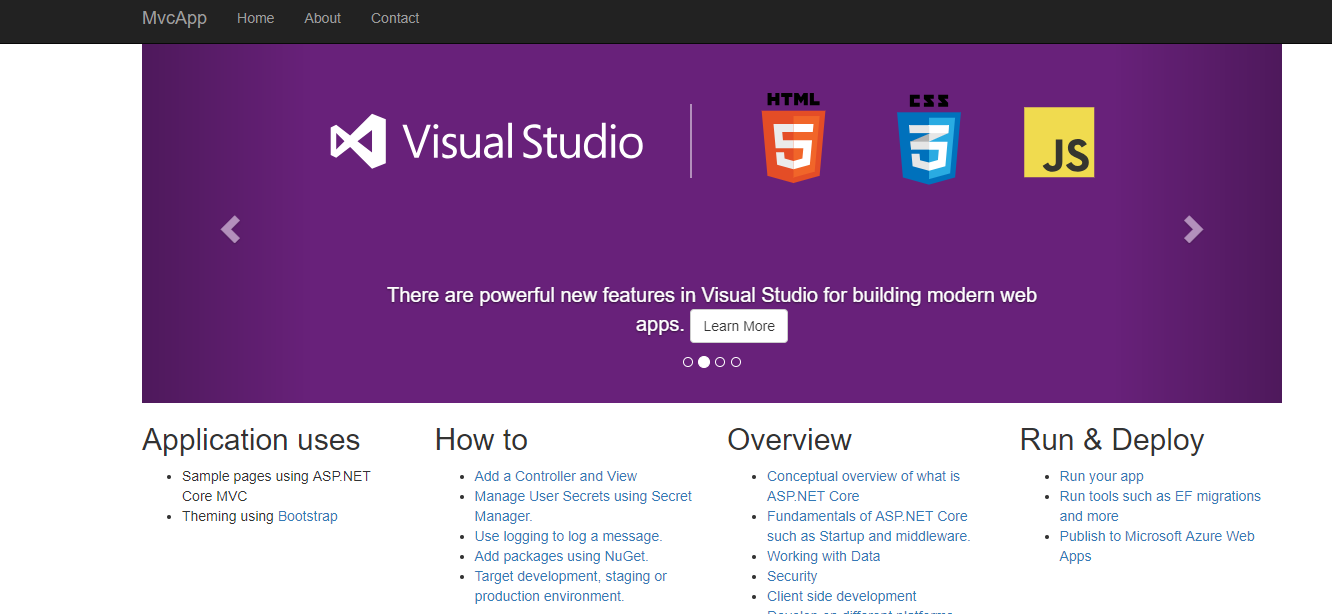
now if you run the application you will see the following page:


Leave a Reply